DIY project. You will need: 1 new ink pad 1 notary stamp 1 clean surface Replacing a notary ink pad, sounds difficult, but with modern stamps it’s quite simple! You only need the essentials to complete this DIY project. You can order your new ink pad... DIY project. You will need:
1 new ink pad
1 notary stamp
1 clean surface
Replacing a notary ink pad, sounds difficult, but with modern stamps it’s quite simple! You only need the essentials to complete this DIY project.
You can order your new ink pad online, and it will arrive within five to seven business days.
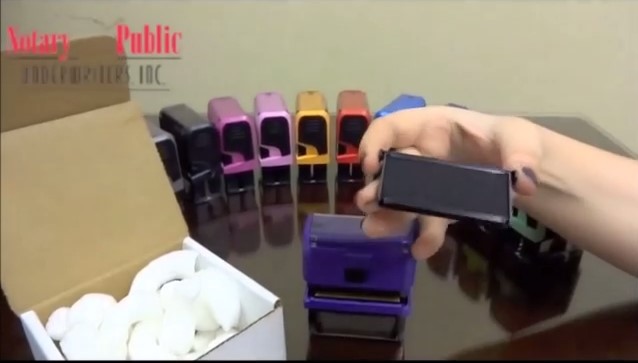
Once you have your ink pad, grab your Notary Stamp.
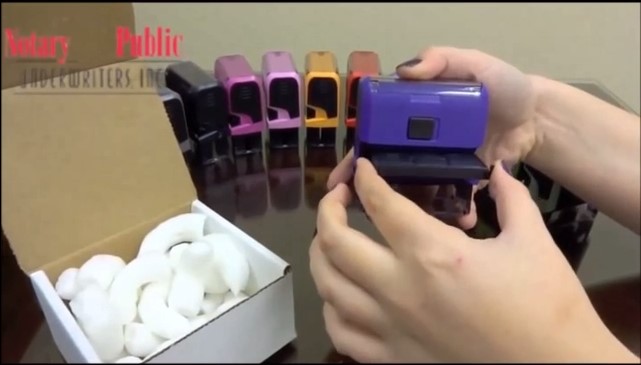
Push the stamp about a third of the way up. On the back of the stamp you will see a black slot. There are grippers on both sides, grab them and pull the ink pad straight out.
Carefully, unwrap the new ink pad, this will be the only time you’re in true danger of getting ink on your fingers. Be sure you know which side is which when unpacking the ink pad. The ink pad will arrive packaged in a box. When you remove it there will be a cover on the over the top inked part. Remove the cover.
Expose the slot in the back of the stamp again, and place the ink pad upside down in the slot. You should hear it click into place.
Test the stamp on a piece of scrap paper.
You’re ready to notarize once again!
You can watch the whole step-by-step tutorial online now!


 Carefully, unwrap the new ink pad, this will be the only time you’re in true danger of getting ink on your fingers. Be sure you know which side is which when unpacking the ink pad. The ink pad will arrive packaged in a box. When you remove it there will be a cover on the over the top inked part. Remove the cover.
 Expose the slot in the back of the stamp again, and place the ink pad upside down in the slot. You should hear it click into place.
 Test the stamp on a piece of scrap paper.
You’re ready to notarize once again!
You can watch the whole step-by-step tutorial online now!
Test the stamp on a piece of scrap paper.
You’re ready to notarize once again!
You can watch the whole step-by-step tutorial online now!